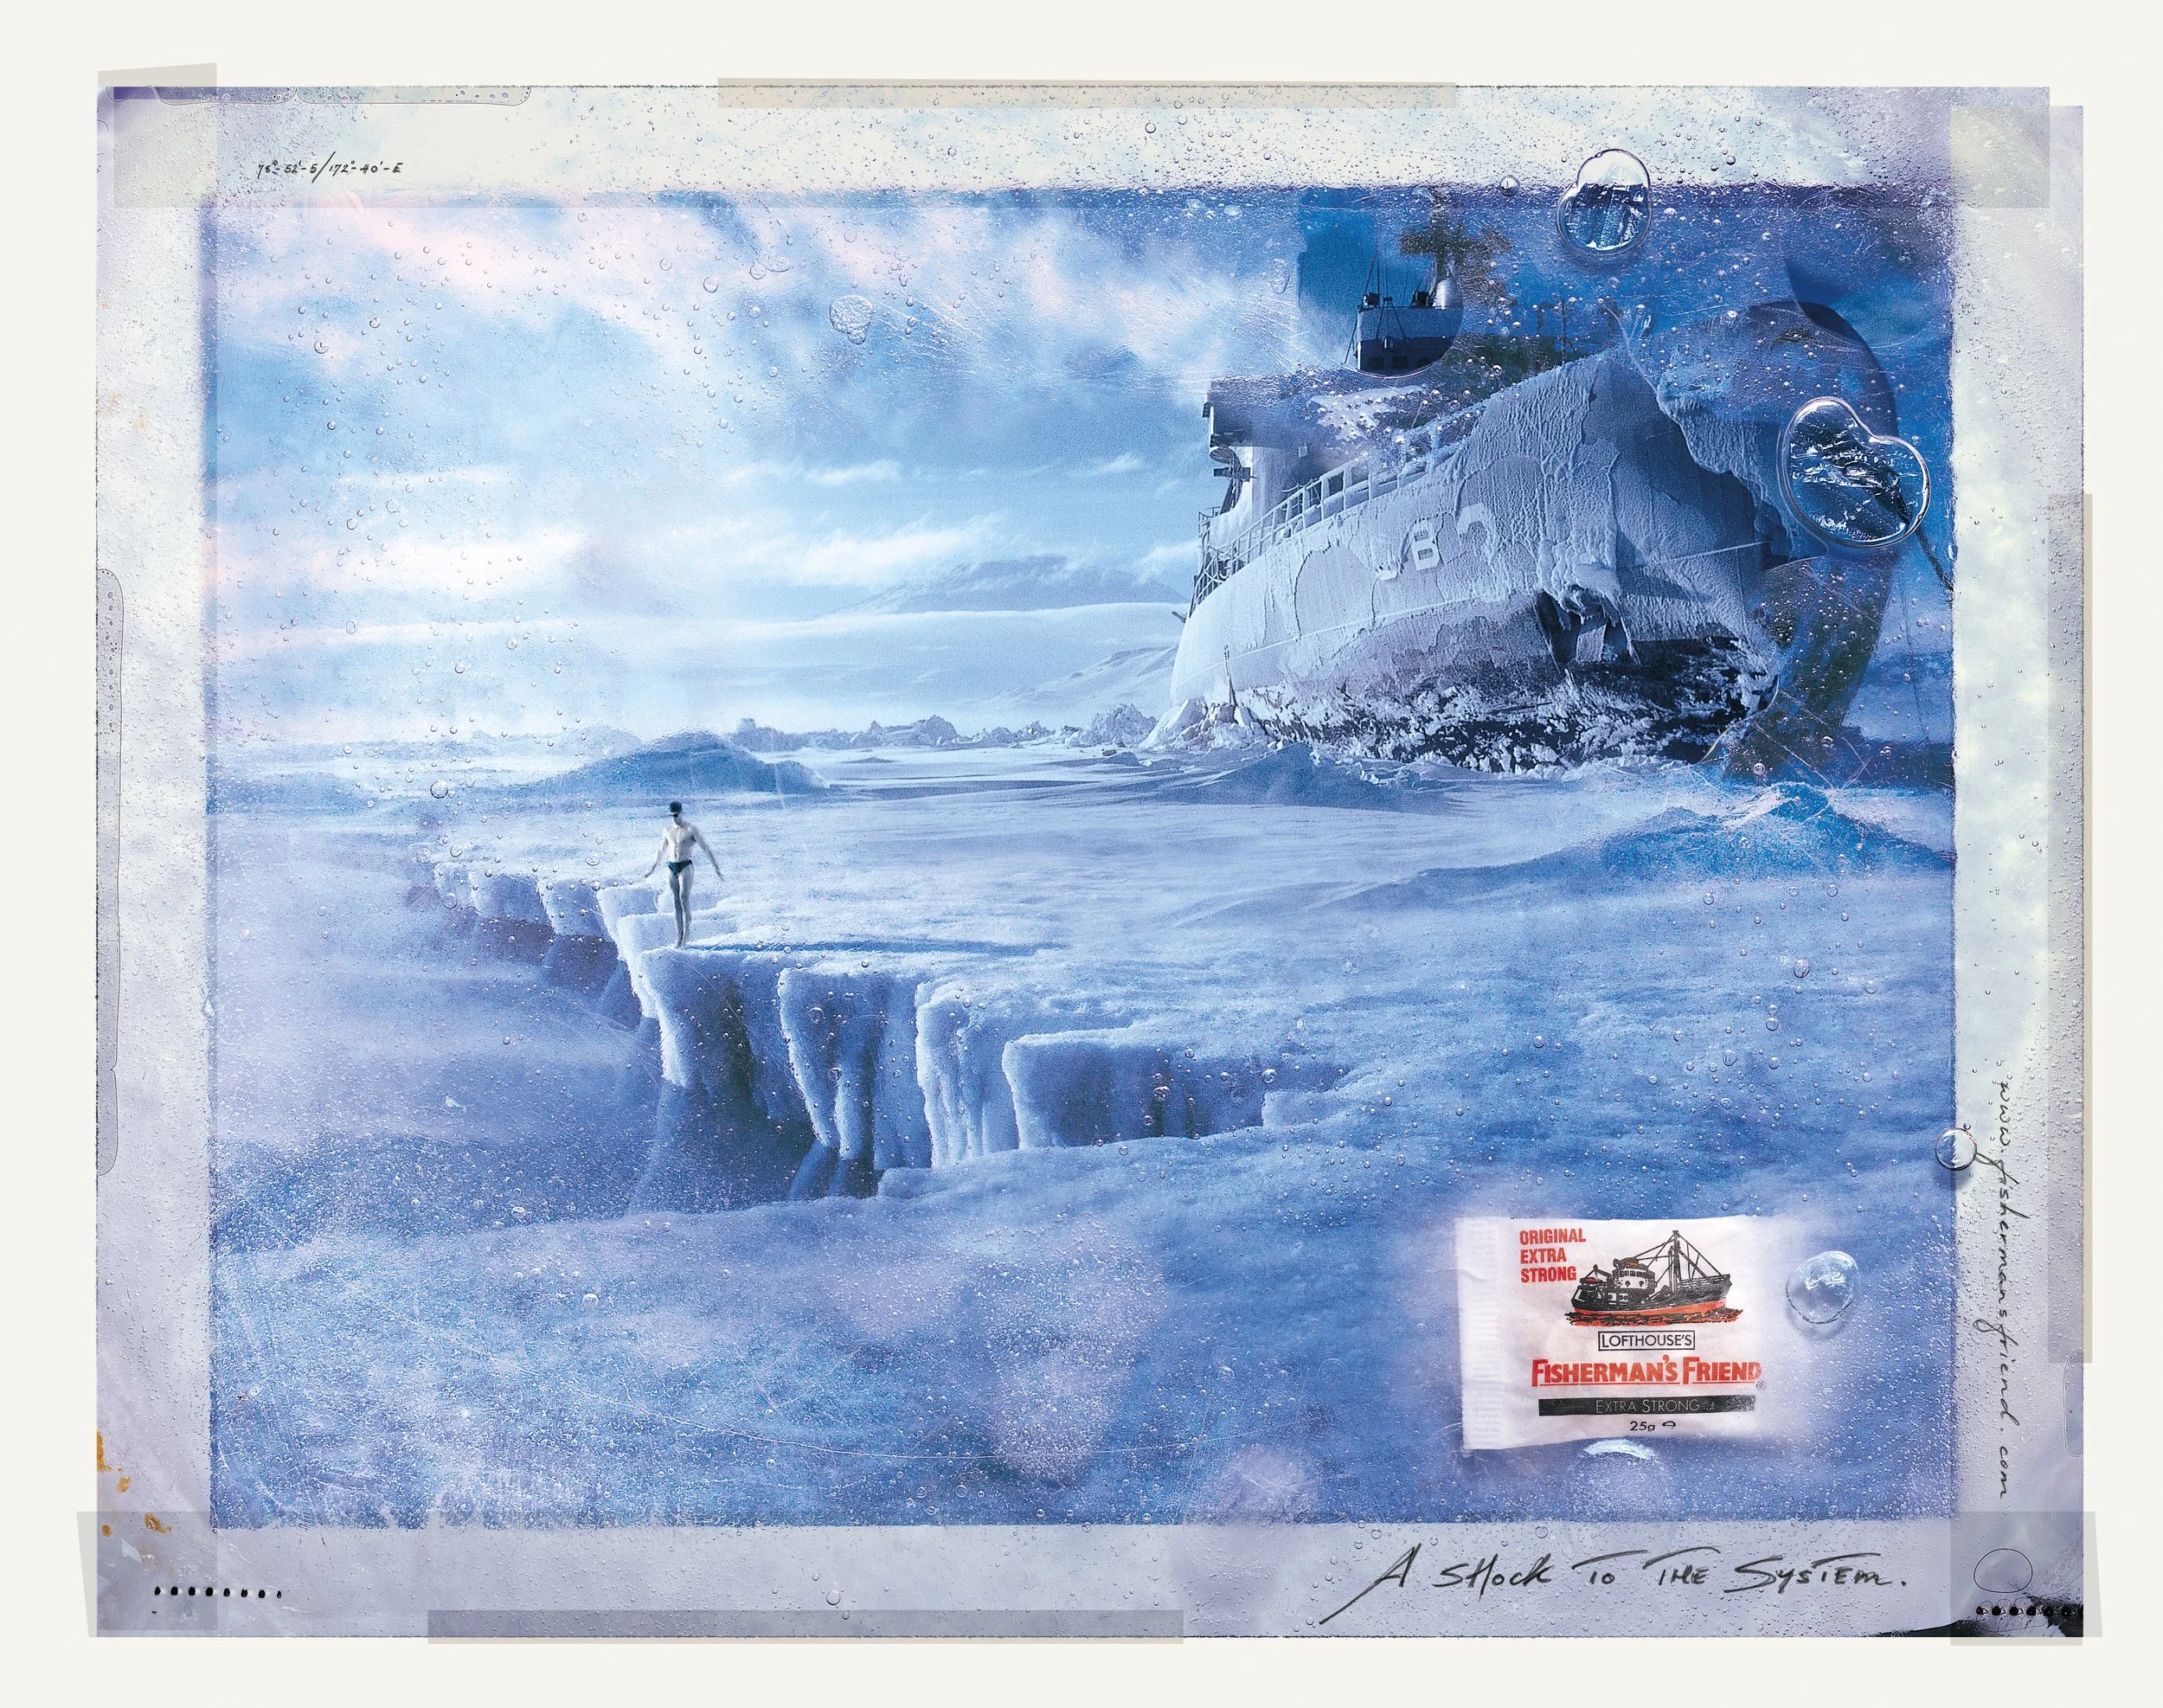
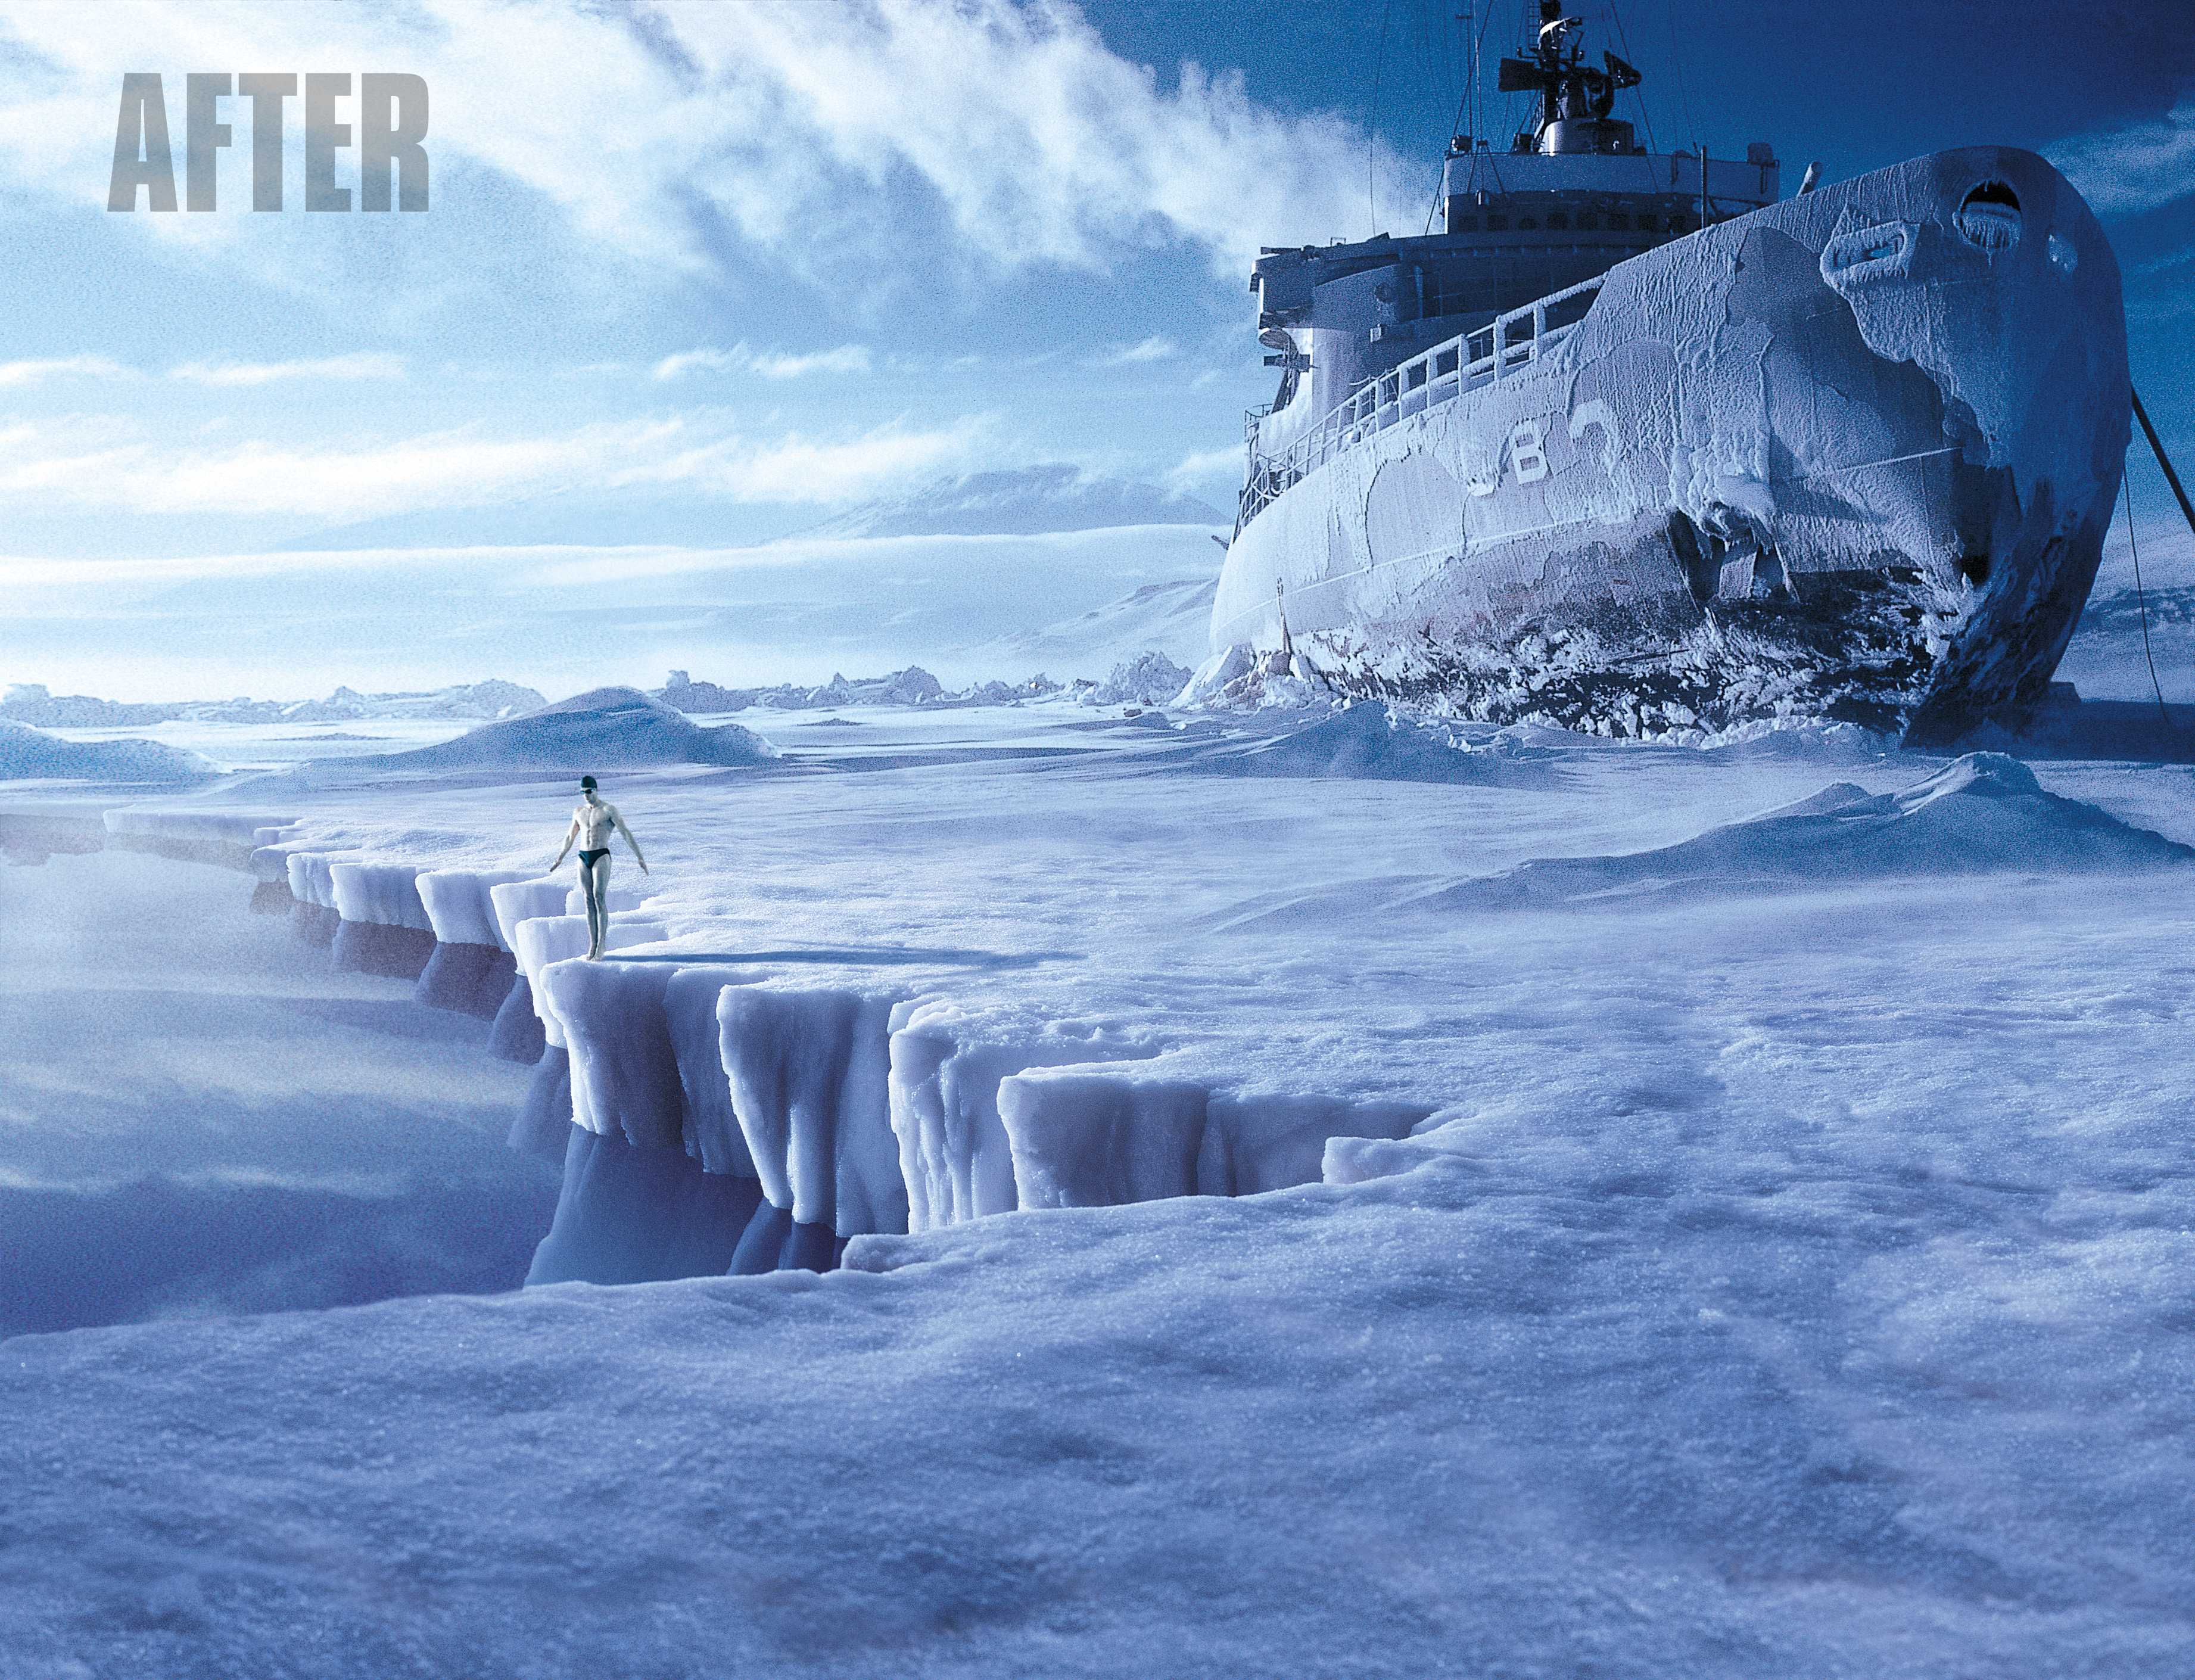
Final Image
The final image shown here was created in 3 distinct phases, using a range of source photography.
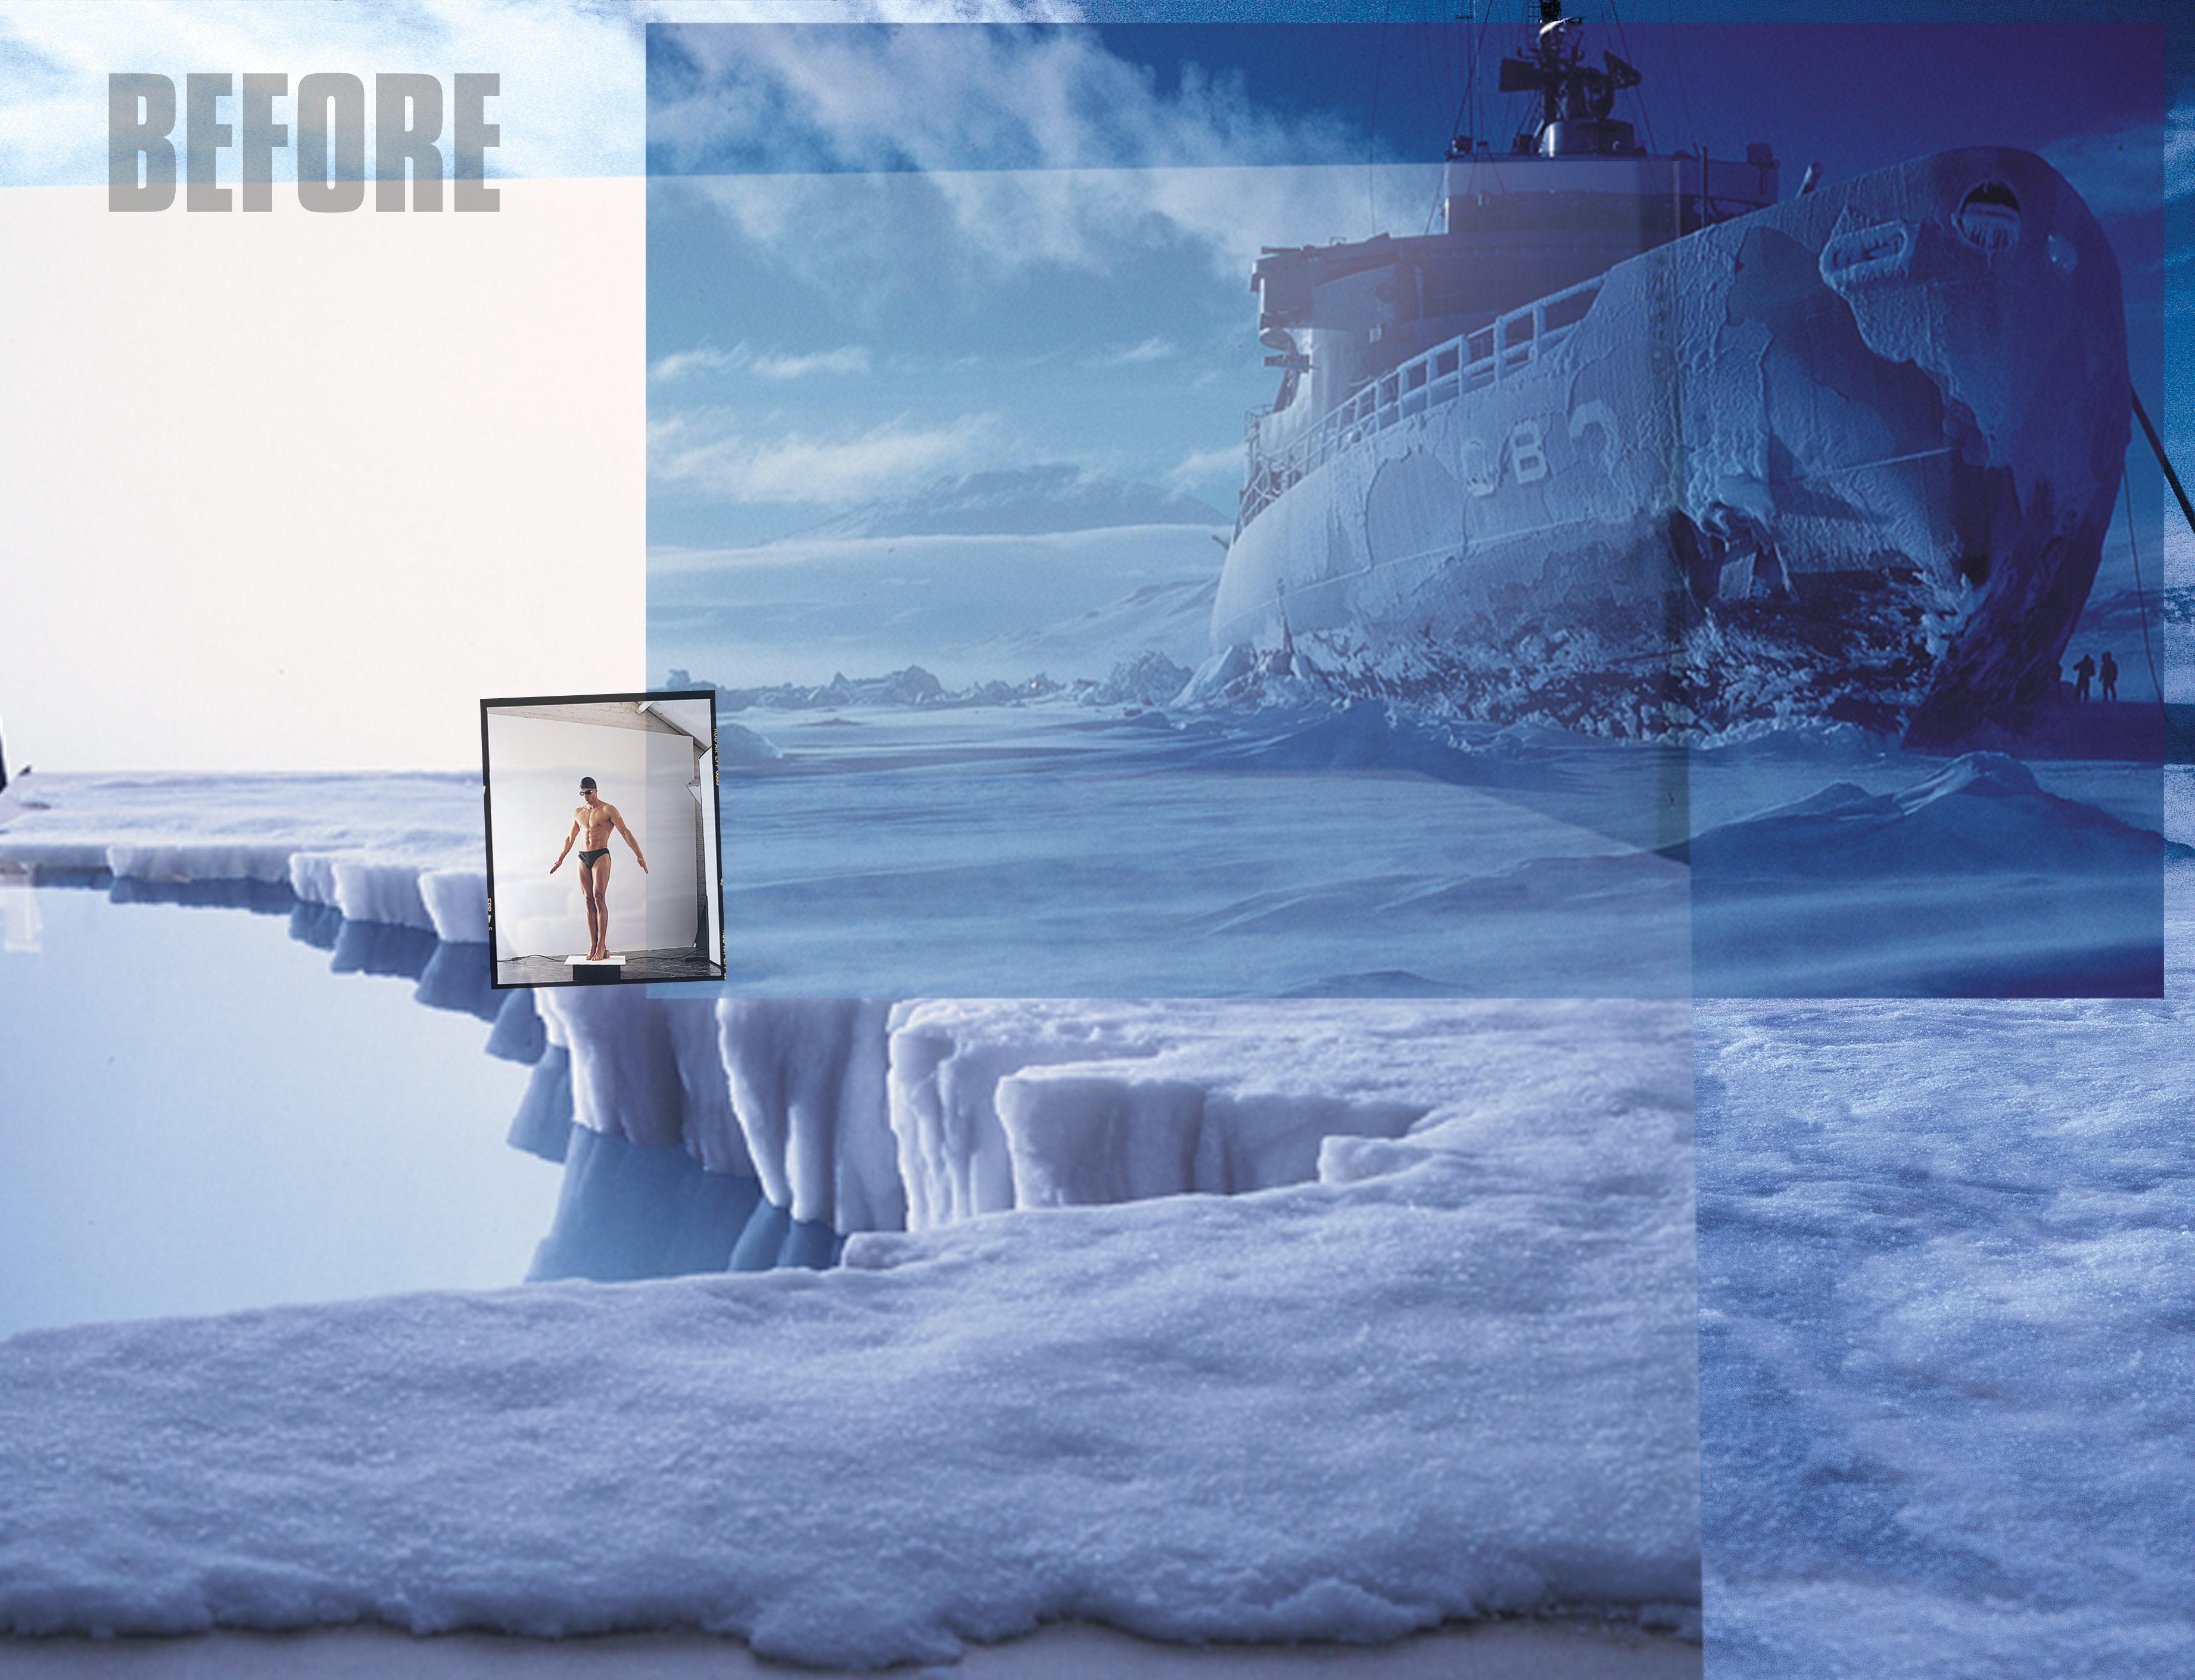
PHASE 1 - Combine the source imagery to create a single clean image
Source imagery
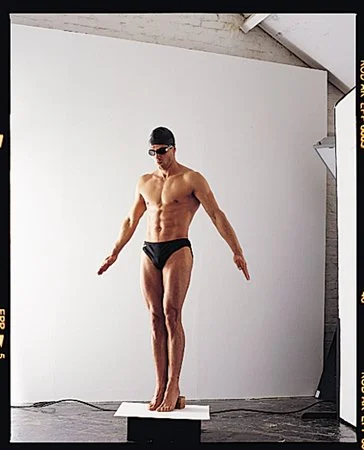
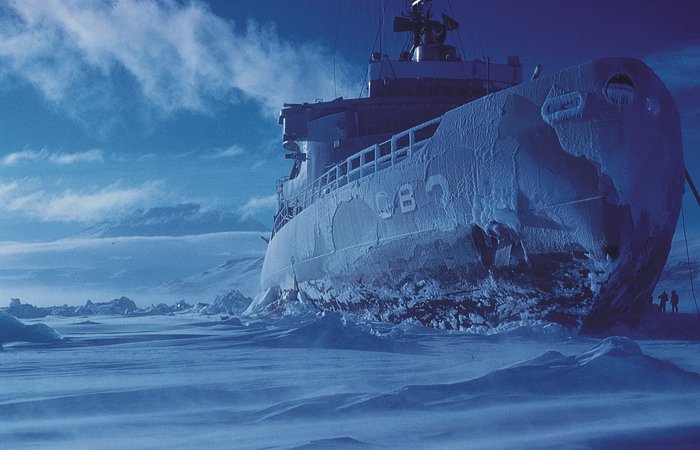
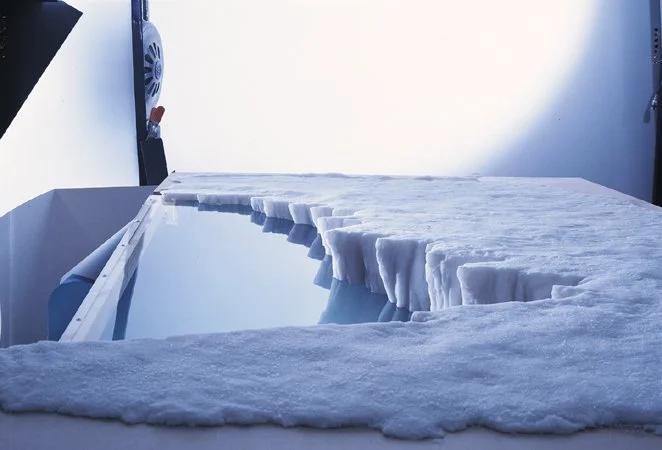
I started with a studio shot of a diver, a specially constructed model of the water’s edge and a photograph of the icebreaker USS Atka, taken in the antarctic in 1960 by Charles Swithinbank. (Irrelevant, of course, but I do like that particular piece of trivia.) These were combined, colour balanced & extended. Other details, such as the mist in the distance and the long shadow on the diver, were added to create a complete "clean" image.
Complete clean image

Phase 1, before and after comparison
PHASE 2 - Freeze the complete clean image (and the product) to create new source material
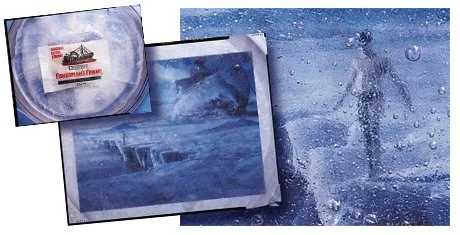

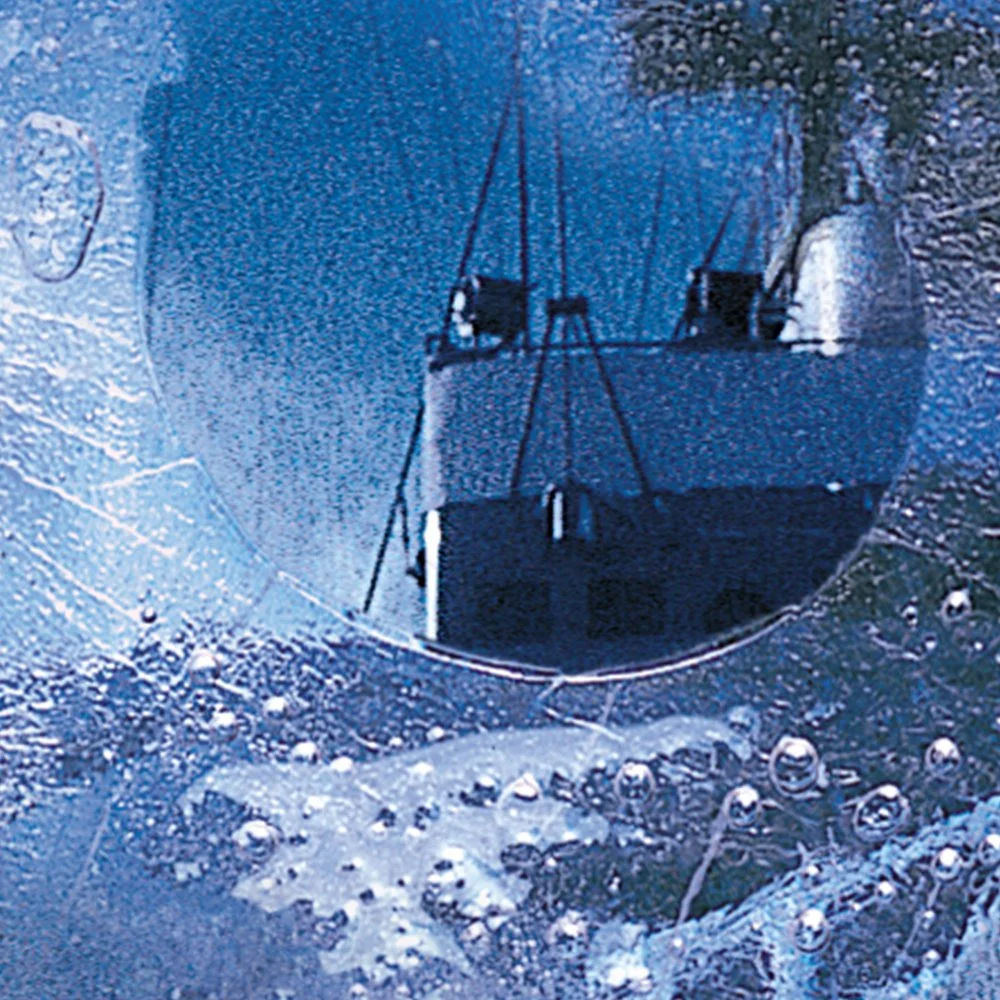
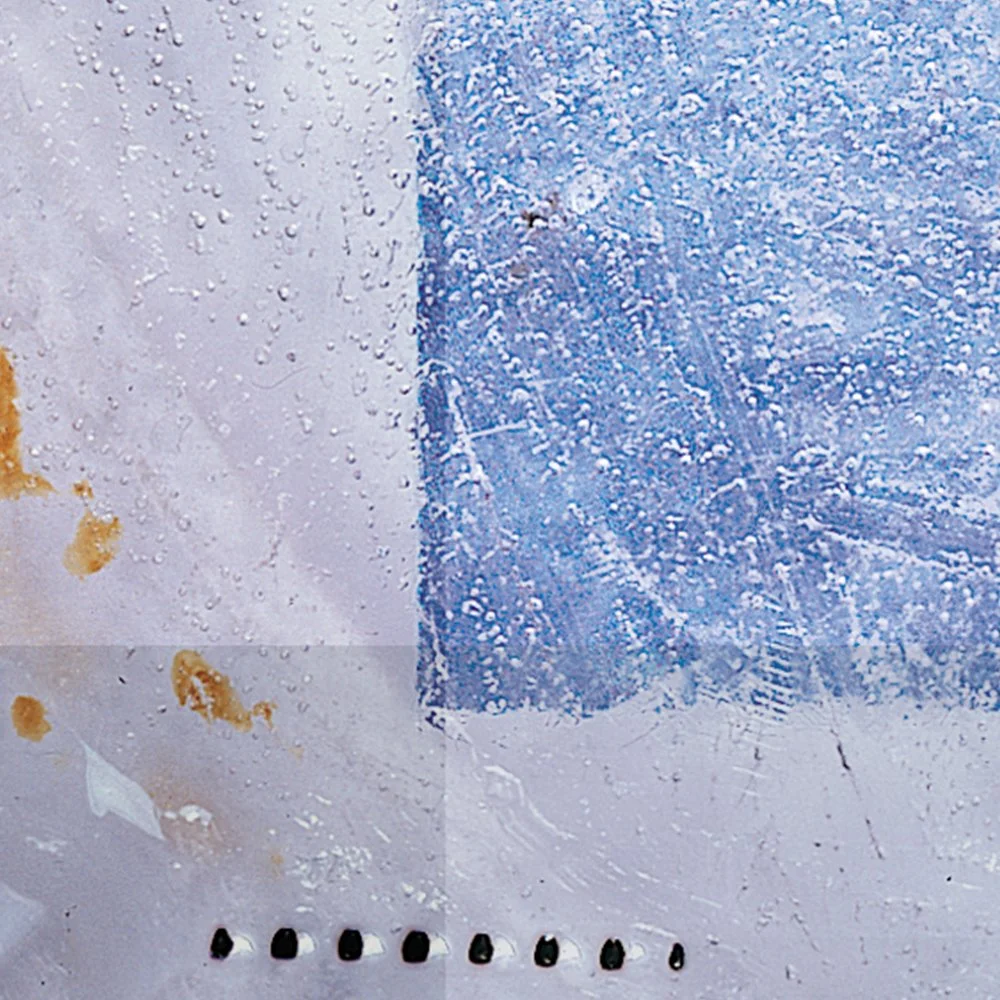
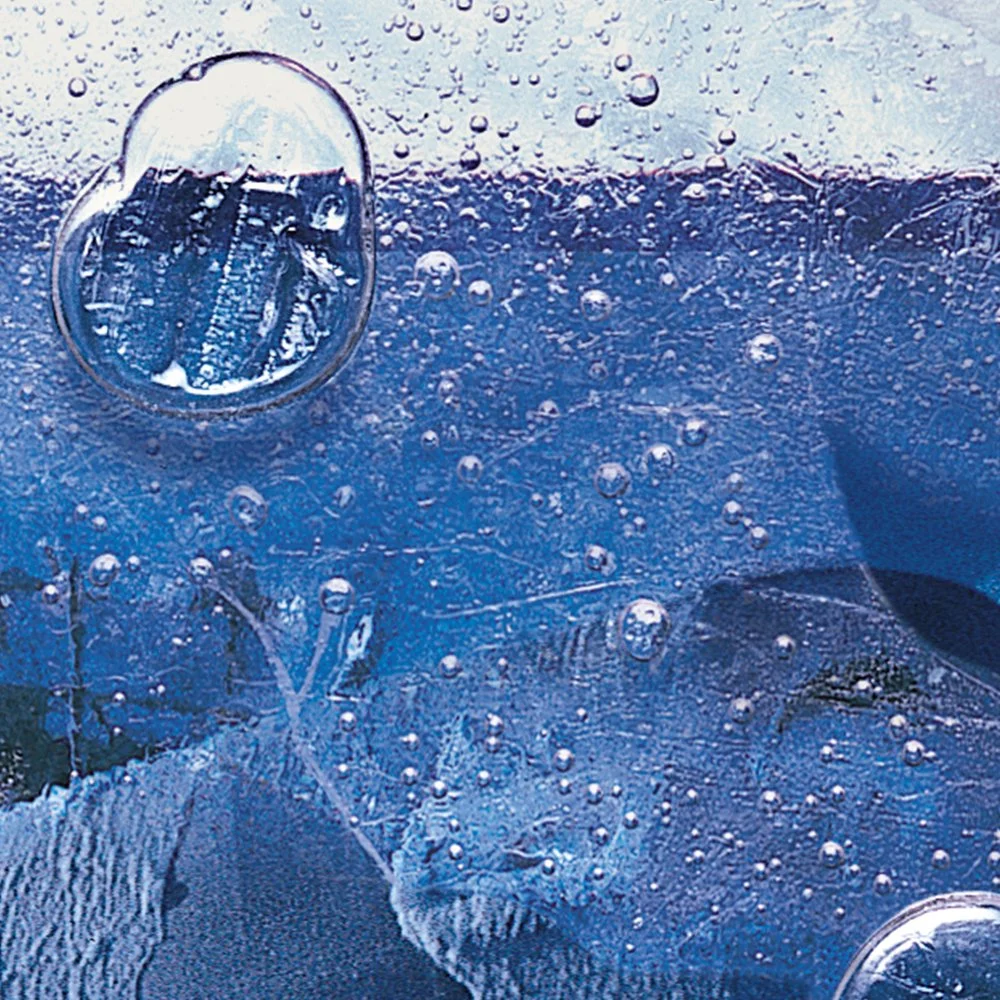
A number of full size proofs (along with the product) were printed out, submerged in shallow trays of water and frozen, before being re-shot to provide a wealth of cool source material for the final image.
It was then a matter of selecting the best elements from the frozen images, blending them with the clean master image and adding the finishing touches such as the hand-written copy, the pack-shot & the tape effect around the edge to create the final image.
PHASE 3 - Combine the clean image with the best bits of the frozen ones
Et voila! Here are a few detail shots from the final image which, if you can remember that far back, is shown at the very top!